
How to migrate your newsletter to Substack
A guide for writers and creators moving from Beehiiv, Ghost, ConvertKit, Medium, Memberful, Locals, Circle, Mighty Networks, Discord, Kajabi, Patreon, Mailchimp, Gumroad, or a custom build.

Why move to Substack?
Whether you’re a solo writer, a video podcaster, or a full newsroom, Substack brings everything you need into one place, without requiring technical experience or stitching together separate tools. It’s free to start, and when you choose to turn on paid subscriptions, you keep 90% of what you earn. Because Substack only makes money when you do, our incentives are directly aligned with yours.
When you publish here, you’re also reaching beyond the subscribers you already have. The Substack network drives more than 50% of all subscriptions on the platform, from millions of active users discovering posts every day—so you can gain subscribers and income simply by publishing on Substack.
“I had my Beehiiv newsletter for six months, with no organic growth through that platform … the more I’ve committed my time to Substack, the more compounding returns I’ve seen.” — Lewis O’Brien, who switched to Substack from Beehiiv.
Substack is designed to meet you where you are:
Writers and journalists: Build a direct relationship with readers who pay you for your work.
Podcasters and video creators: Host natively, go live, and publish automatically to Substack, Apple, Spotify, and YouTube. Offer premium episodes to paid subscribers.
Media companies: Run a full newsroom with multiple writers, sections, and podcasts. Substack handles payments, distribution, and subscriber management.
Experts and educators: Teach what you know and share your work on your own terms, with your audience paying you directly because they value it.
We’ve made it easy to bring your content, audience, and payment relationships with you to Substack. This guide walks you through everything you need to get set up on Substack, so you can take advantage of the network and tools to build a stronger connection with your community.
Step 1: Set up your publication
When you first set up your Substack, you’ll be prompted to choose a publication name, URL, and one-line description. You can always come back and update these elements later.
Make sure to put your publication in private mode, an option you’ll find in your dashboard settings under Privacy. This will give you an opportunity to get everything set up before your audience sees it.

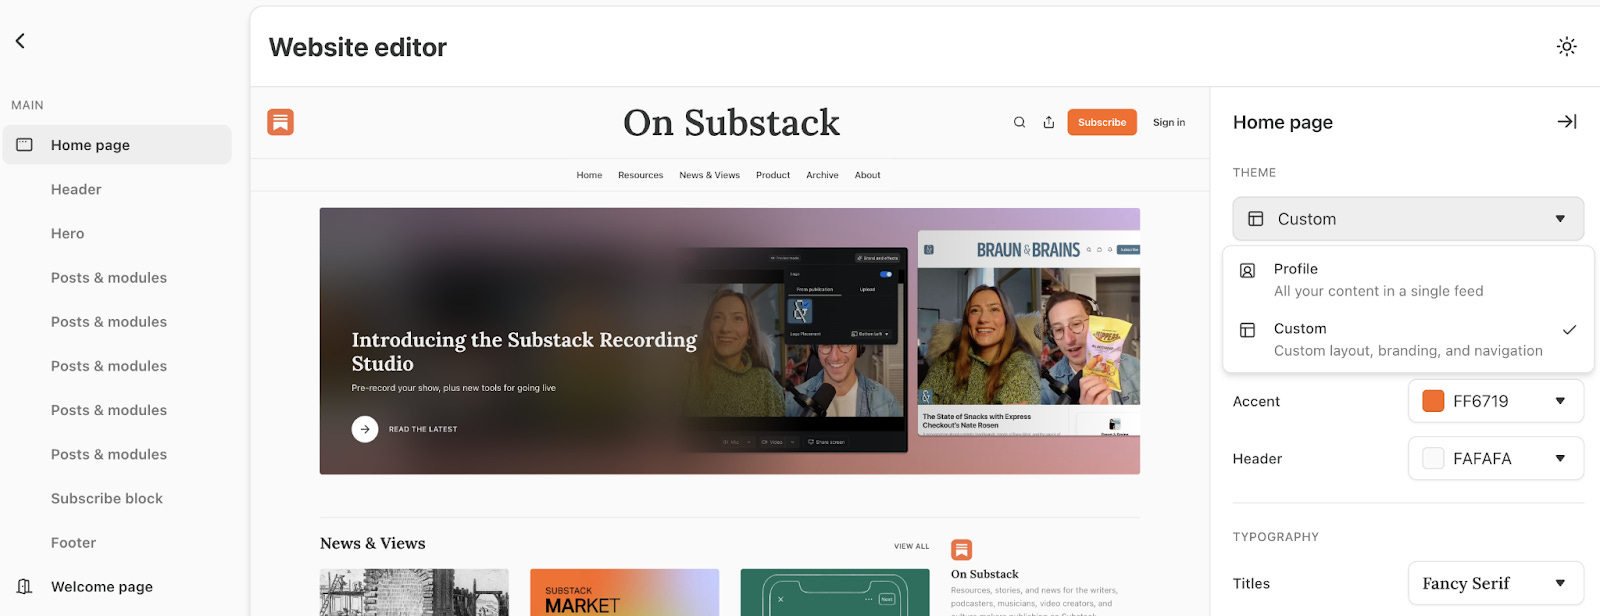
From your dashboard, you can also open the website editor to customize your publication’s look and feel.
To enable customization, make sure that you’ve switched out of “Profile” mode and selected “Custom” under the theme menu.
You’ll then be able to update your design, layout, and logo before you go live.
Two more elements to personalize before you go live:
About page: This is where new readers learn who you are, what you write about, and why they should subscribe. Learn more
Welcome email: When someone new signs up, they’ll get an automatic email from you. Use it to say thank you, point paid subscribers to their benefits, and give free readers a reason to upgrade. Learn more
Step 2: Import your list
You can import your email list during the setup process or come back to it later from your settings. You’ll need a CSV file, which you can export from your previous host.
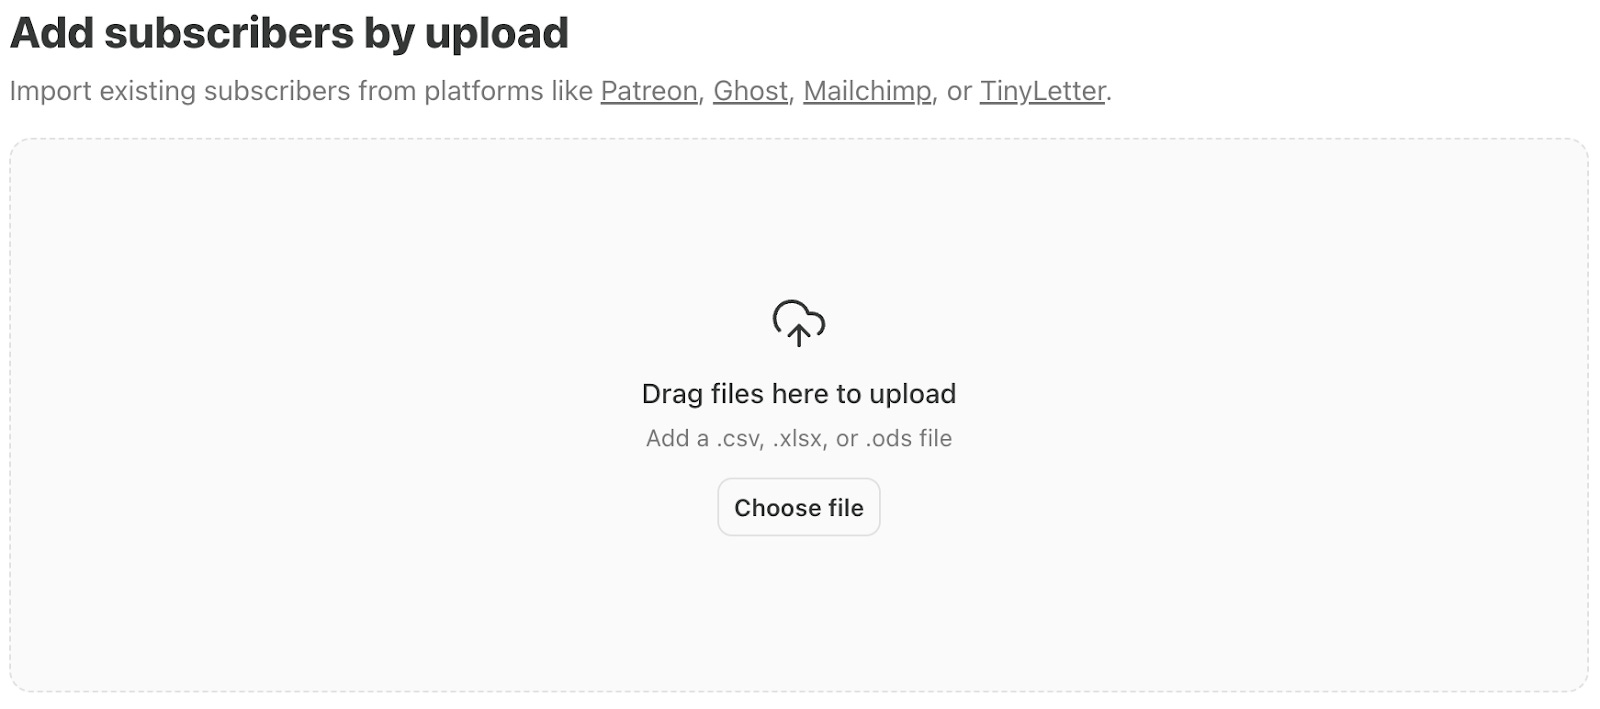
A few things to keep in mind:
Before you bring your list over, make sure everyone on it has opted in to receiving emails from you on your previous platform.
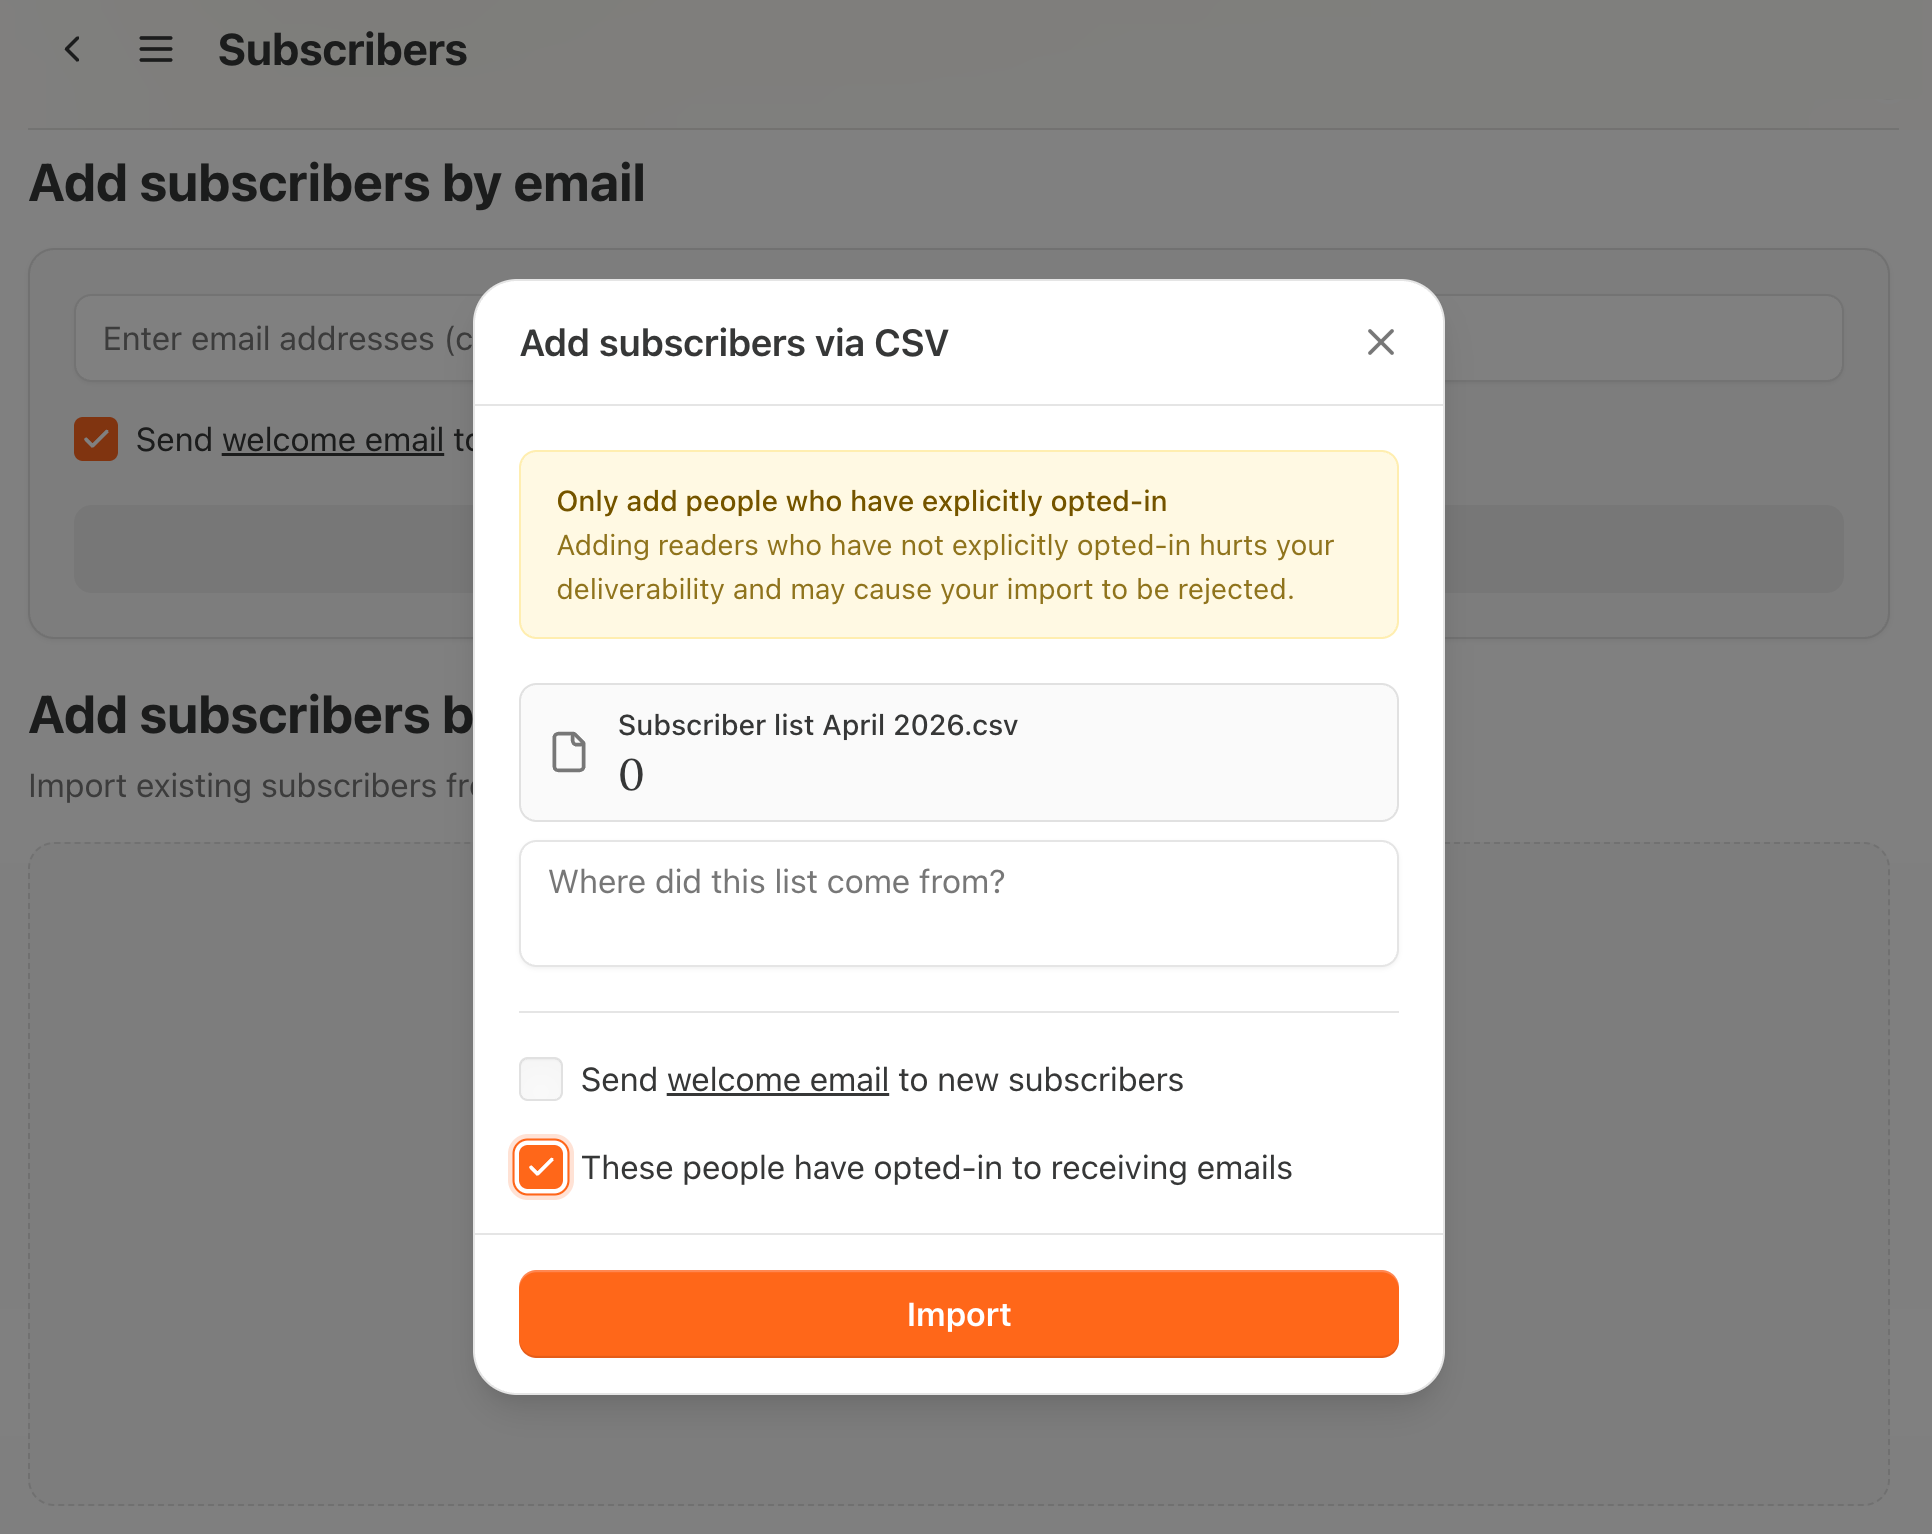
When you import, you’ll be asked to give your list some context. Label your upload with the name of your previous host so there’s a clear record of where the subscribers came from.
Skip the welcome email for now. Since you’ll be letting your audience know that you’re moving, a default welcome email will feel redundant. Instead, save that momentum for your first full post.
Some publishers choose to offer new subscribers a free 30-day trial as a gesture of goodwill when they migrate, especially if they’re coming from a platform where paid subscriptions couldn’t be transferred directly. You’ll be offered this option when you import your list.
“Moving to Substack will allow us to focus on what we do best: writing thoughtful analysis about the future and bringing interesting people into conversation.” —Mario Gabriele, switched from Ghost
Step 3: Import your content
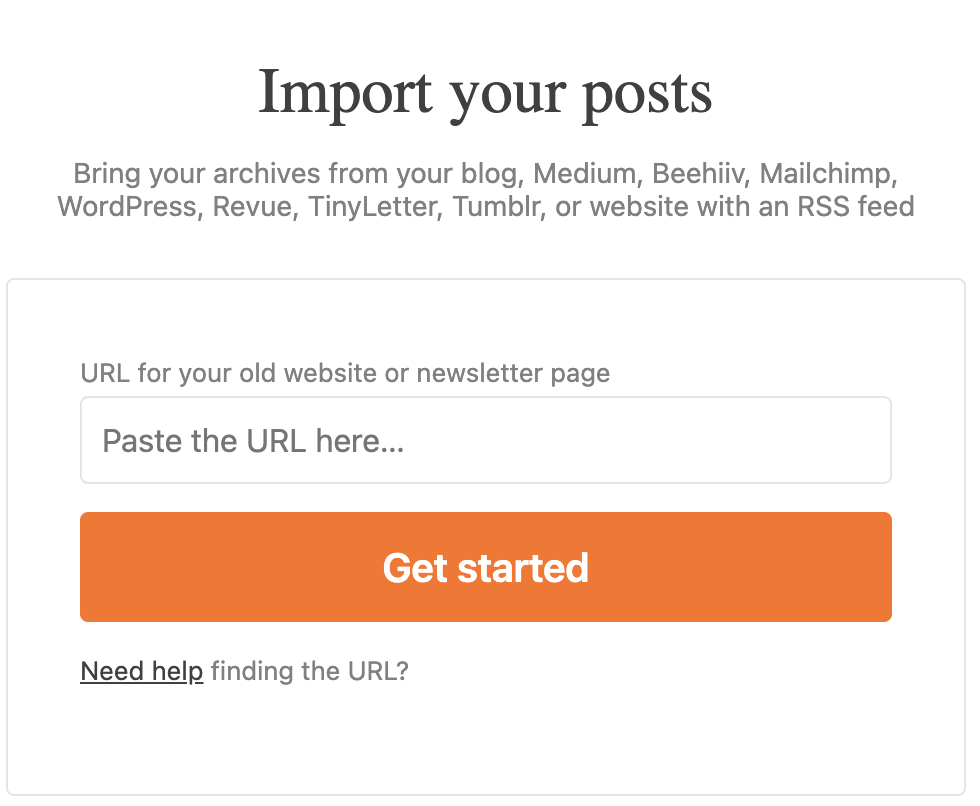
Substack makes it easy to bring your work with you. Here’s how:
Paste your URL: Most of the time, you can paste your blog or newsletter URL directly, and Substack will pull over your 15 most recent posts. This works for Ghost, Mailchimp, Beehiiv, TinyLetter, and more.
Or upload a file instead: If you’re able to download a CSV, XML, or JSON file from your previous platform, you can upload that. Check whether your platform has an RSS feed or a JSON archive available for download. From your Substack settings, you’ll be able to upload it directly.
Tip: Don’t feel like you need to bring everything at once. Many publishers choose to start fresh or to import only their best-performing pieces. You can always archive the rest of your content on your old site and link out to it directly from your publication’s navigation bar.
Step 4: Set up your Stripe account
Stripe is the sole payment provider for Substack. If you used a Stripe account on your previous platform, you’ll be able to connect it to your Substack in just a few minutes.
If you are coming from Ghost, Beehiiv, or a custom build where you owned your Stripe account, you can visit your settings and connect your Stripe account by signing in.
If you are coming from a platform like Memberful, or one that uses Stripe but where the platform owns the payment account, there are a few additional steps. Contact support, and our team can help you bring your payment relationships over.
If you’re coming from Patreon, you can find our comprehensive guide here. We’ve worked with a number of writers and creators to develop a strategy that will help you get the word out about your move.
Did you run into problems while importing your email list or content or connecting your Stripe account? Visit our support page.
Step 5: Make the most of your announcement
Use your first Substack post to zoom out on your work and to bring people along on the journey. Sharing your story in an announcement post can motivate new and existing subscribers to support you and spread the word.
Great announcement posts:
Make it clear that existing subscribers don’t need to change anything. “We wanted to let you know about this move, but the tl;dr is that you don’t need to do anything except enjoy an improved Exponential View.” — Azeem Azhar and Marija Gavrilov when they switched from Ghost
Let subscribers know why Substack is better for their experience.
“Switching to Substack will allow for much better community features, annual memberships, and a lot of other stuff that we honestly should have been able to offer listeners all along. In terms of speed, smoothness, and ease of functionality, there’s no comparison between the two platforms, and we’re excited to take advantage of our new, much snazzier home.” —Jesse Singal when he switched from PatreonKeep the post free and open. This should be a free post so as many people as possible can see it. Don’t forget to add buttons reminding your audience to subscribe.
Post a Note: Post a Note to let people know you’ve arrived. The Substack network drives more than 50% of all subscriptions across the platform and 30% of paid subscriptions, and the Notes feed is one of the easiest ways to tap into it.
Learn how to use Notes to grow your audience on Substack:
When you post, you’re not just reaching your existing audience. You’re putting yourself in front of potential new subscribers who might not have found you yet.
Bring your social media audience with you: Put your Substack link in your bio across every platform. It pays to clear out other links: creators who remove competing links, including Linktree, see significantly more of their audience follow them over. When followers have multiple options, they often choose none. For more platform-specific best practices and a deeper look into bringing your social following to Substack, see our comprehensive guide:
We’ve worked with countless publishers to help them make the move to Substack, and we’re here to ensure that your migration goes just as smoothly.
How do I move from Beehiiv to Substack?
How do I move from Ghost to Substack?
How do I move from Mailchimp to Substack?
Our support team is always happy to help, and if your question isn’t immediately answered, it will be escalated and you’ll hear back quickly from someone who can assist.